
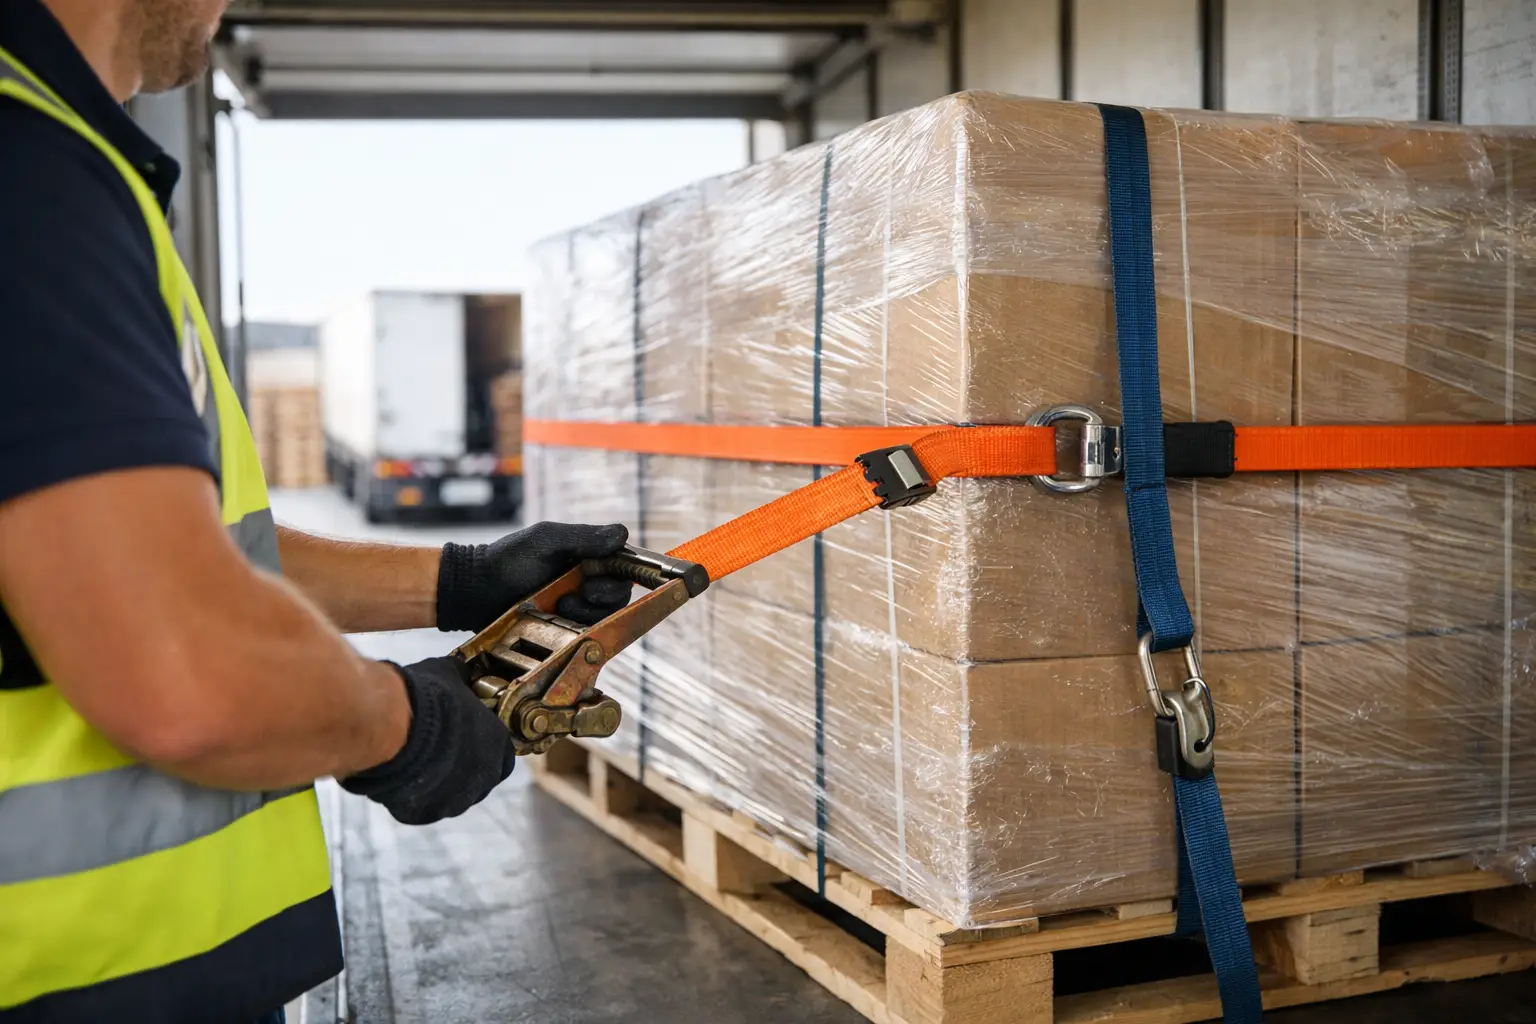
A load restraint system is only as good as the way it is fitted to the truck body. If you are looking at how to install load restraint on a tautliner or curtain-sided truck, the real question is not just where the hardware goes. It is whether the finished setup will improve safety, reduce manual handling, and stand up to the pace of daily freight work.
For fleets, body builders, and owner-drivers, installation needs to be practical. It has to suit the vehicle, the freight task, and the people using it every day. A restraint system that looks fine in the workshop but slows down loading or creates awkward reaching points on the road will cost you time and increase risk.
How to install load restraint the right way
The first step is to treat installation as part of the truck body build, not as an afterthought. On curtain-siders and tautliners, restraint equipment needs to work with the internal structure, track position, curtain movement, and access points. If the mounting points are poorly placed, drivers end up overreaching, climbing unnecessarily, or working around the system instead of with it.
That is why proper installation starts with an assessment of the vehicle and the freight profile. A metro delivery truck carrying palletised freight all day may need a different layout from an interstate unit handling mixed loads. The restraint method, spacing, and hardware access all depend on what is being carried and how often the load changes.
In most cases, a modern internal restraint system will involve a track fixed inside the body, a restraint assembly, and the operating hardware that allows the driver to secure freight with minimal labour. The exact method varies by manufacturer, but the principles do not. The hardware must be mounted square, fixed to suitable structural members, and positioned so it can be operated safely from ground level or with minimal strain.
Start with the truck body, not the restraint
A common mistake is to choose restraint hardware first and ask fitment questions later. That approach creates trouble on installation day. The body construction determines what can be mounted, where it can be anchored, and how loads will sit inside the tray or body.
Before any drilling or fixing starts, check the internal dimensions, pillar spacing, roof clearance, and existing body hardware. Look closely at any interference points such as curtain rollers, side posts, gates, internal linings, and rear frame components. If the system includes tracks or fixed channels, they need a straight, structurally sound mounting path.
This is also the point where compatibility matters. Different truck makes and body designs present different installation conditions. Isuzu, Hino, Fuso, UD, Mercedes-Benz, Scania and other common fleet vehicles can all be fitted, but the body builder still needs to work to the actual build, not a generic measurement sheet.
Plan the restraint layout around real freight
If you want to know how to install load restraint properly, think about how the load moves through the body. The spacing between restraint positions should reflect the freight you carry most often. There is no value in a technically correct install that forces drivers to improvise because the securing points do not line up with pallet positions.
For regular pallet freight, the restraint zones should match practical loading intervals. For mixed freight, more flexibility may be needed. The aim is to allow fast positioning and safe restraint without repeated adjustment, excessive bending, or climbing into the body to fight with straps and buckles.
There is always a trade-off here. More restraint positions can improve flexibility, but they can also add hardware, cost, and fitting time. Fewer positions can simplify the body, but may limit restraint options for awkward freight. The right answer depends on the work the vehicle actually does.
Mounting the track and hardware
Once the layout is confirmed, installation moves to the physical fitment. This part should be carried out by an experienced truck body builder or approved installer, because restraint hardware is only as reliable as the structure supporting it.
The mounting surface must be clean, sound, and suitable for load-bearing fixings. Tracks need to be aligned accurately so the restraint units travel and lock as intended. Any variation in level or spacing can affect operation and create unnecessary wear over time.
Fixings should match the manufacturer’s specification for both material and load rating. Shortcuts here create long-term problems. Undersized fasteners, poor backing support, or mounting into weak sections can compromise the whole system. In a freight operation, vibration, repeated use, and sudden load shifts expose every weak point.
If the system uses additional components such as a bungee unit or operating pole, these need to be fitted and tested as part of the same installation process. The goal is not simply to attach components to the body. It is to create a complete restraint method that drivers can operate quickly and safely in live freight conditions.
Test access, reach and driver operation
A load restraint system can be structurally sound and still be poor in practice. That is why operational testing matters. After fitment, the system should be cycled through normal loading and securing tasks with the truck set up as it would be in service.
Check whether the driver can engage and release the restraint without awkward body position. Check whether the pole reaches comfortably, whether the hardware clears the freight, and whether the curtains open and close without interference. If a driver has to stretch, twist, climb, or repeatedly reset the gear, the install may need adjustment.
This is where a well-designed system shows its value. A patented setup built around minimal labour and safer operation should reduce the physical effort involved, not just change where that effort happens. For many operators, that is the real commercial gain – fewer manual handling risks and quicker turnaround at each stop.
Compliance and load restraint performance
Installing a restraint system is not just a workshop task. It is part of the broader responsibility to secure loads safely and operate within Australian transport requirements. The system, the mounting method, and the way it is used all contribute to compliance.
That means installation should be documented properly. Keep records of the hardware fitted, mounting method, and any manufacturer instructions supplied with the system. For fleets, it also makes sense to build restraint checks into vehicle handover and maintenance routines.
A good install supports consistent use. A poor install usually leads to workarounds, missed steps, and equipment damage. In transport, that can quickly become a safety issue.
Why installer experience matters
There is a reason many operators prefer restraint systems fitted through established truck body builders and stockists. Experience shortens the gap between a product on paper and a system that works on the road.
An experienced installer will understand body structure, clearances, fastening methods, and the practical realities of loading docks, depot yards, and roadside deliveries. They are more likely to spot issues early, such as poor hardware access, clash points with curtains, or restraint positions that do not suit pallet spacing.
That matters even more when vehicles are part of a larger fleet. Standardising installation across multiple units helps with driver familiarity, maintenance, and procurement. If every truck is set up differently, productivity drops and training becomes harder than it needs to be.
Common mistakes when installing load restraint
Most installation problems come back to three issues: poor planning, weak mounting, and not thinking about the driver. A system that is fitted without reference to the freight task often ends up underused. A system mounted without proper structural support may fail early or require constant repair. A system that ignores reach and access creates unnecessary strain.
Another common problem is treating the curtain as part of the restraint solution. Curtains are not a substitute for proper internal restraint. The securing method has to hold the freight where it belongs during braking, cornering, and general road movement.
It is also worth avoiding the cheapest fitout decision if it costs labour every day after that. A restraint system is used repeatedly across the life of the vehicle. Saving a small amount on installation can lead to higher labour cost, slower deliveries, and more driver fatigue over time.
Choosing a system that makes installation easier
Some restraint systems are easier to fit and easier to use because they have been designed for the realities of tautliner work. That includes straightforward track installation, practical hardware layout, and operation that reduces climbing and heavy manual effort.
For Australian fleets, local support also matters. If parts, installers, and product knowledge are available nationally, downtime is easier to manage and fitment standards are easier to maintain. That is one reason Australian-made systems such as StrapNGo are often considered by operators who want both safety and productivity from the same investment.
The best installation outcome is not the one that looks most complex or most heavily engineered. It is the one that gives drivers a safe and secure restraint method they will actually use on every load, every day.
If you are planning a new body build or upgrading an existing tautliner, take the time to get the installation right at the start. A properly fitted restraint system does more than secure freight – it takes pressure off drivers, supports compliance, and helps the truck earn its keep with less wasted effort.